
Phew, this will be a long story...
I've been working on a The Fault in Our Stars Diorama for quite a while now, and a week ago I managed to finish my build of it.
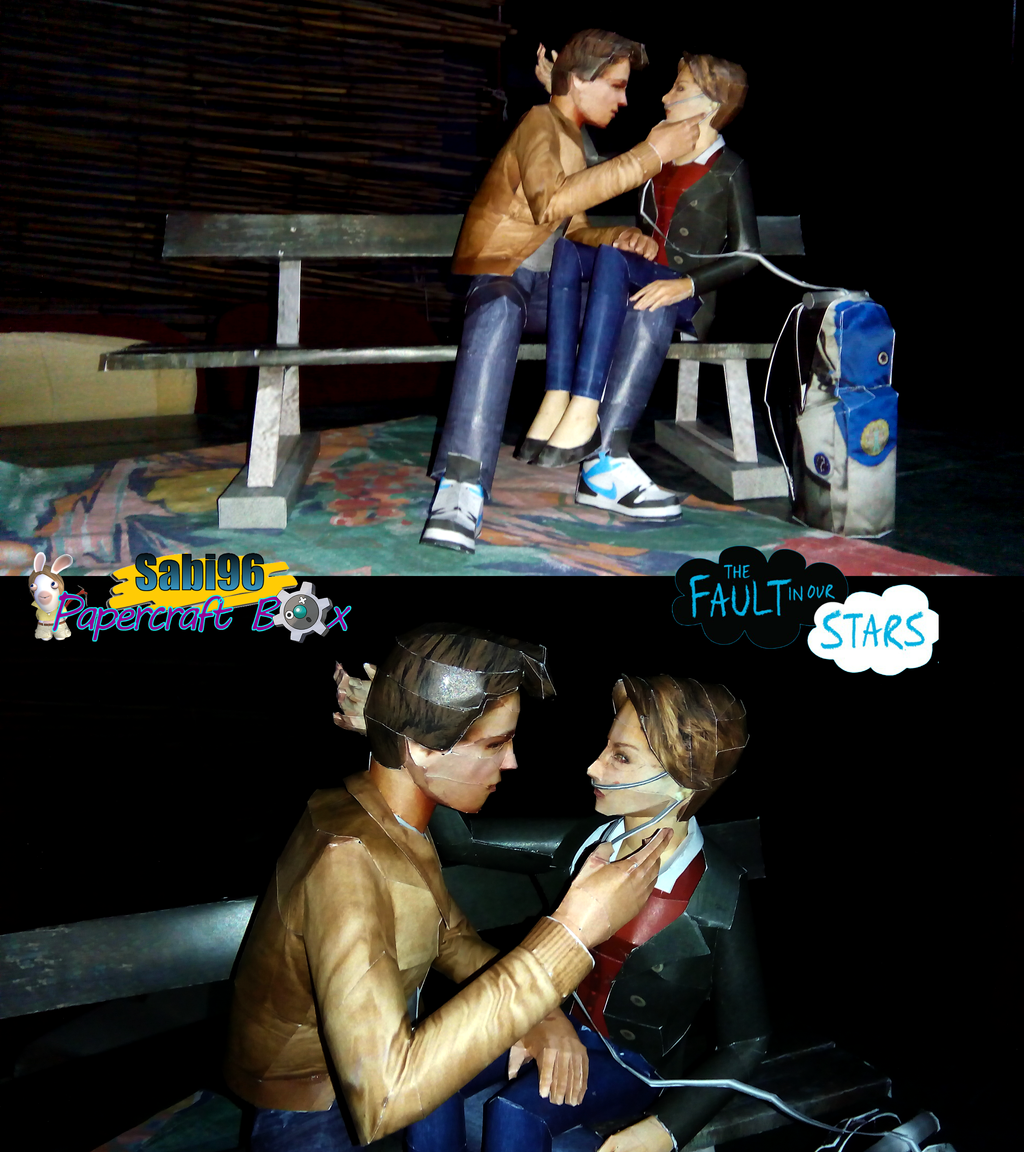
As you can see I've decided that the bench scene in Amsterdam is a really nice idea. I also scribbled some random nonsense on the bench, but after taking this picture, so you can't actually see anything. I also managed to mess the character's faces up quite a bit, but to my defense some parts were really tiny :D . No matter how messed up their faces are, if someone saw the movie they will know that this diorama is based on it. I've even built the oxygen tank with the bag. The tube is just a two-sided 2D cutout. The jackets and the bodies are actually seperate, the bodies themselves have no arms. On the build Hazel's leg possition is a bit off.
This is a private project, so there is actually no way of getting the files. The project occupies 21 pages (8 for the bench and oxygen tank, 7 for Gus and 6 for Hazel).
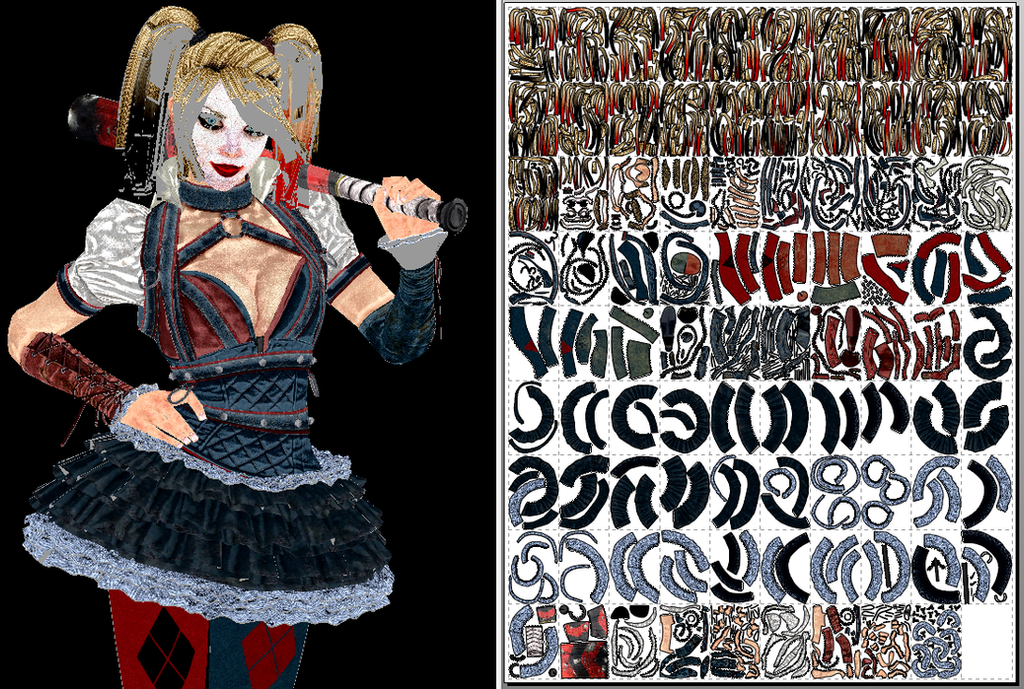
This project was actually made because I needed a break from editing Harley Quinn. Harley Quinn has to be the hardest craft I've attempted to make so far. The model from Arkham Knight is immensely high-poly. Editing took me several days. I decided not to remove ANY of her hair strands, just edit them to make all strands a single paper piece, but double sided. She has all of the laces on her boots, arms and back that she had before I started, just edited. After all of that fiasco, I ended up with an 89 page papercraft at 95cm tall, 21 of which is just hair. The part count for all the hair is over 650. That makes it 325+ strands. The part count for everything is 1359. The template was made in Pepakura Designer High-Resolution version, because the model itself was mapped with mostly 2048x2048 resolution textures.

After finally finishing the unfold, and printing the whole thing into a 1.8GB pdf (at 1200dpi) I was curious what would happen if I played around with the textures. First I started with just the face. I made it a bit lighter, added a bit more black around the eyes and made the lips a LOT more red. I liked the outcome, but it didn't match with the rest of the textures so i tweaked them too.

Having done that and printed another 1.8GB pdf, I remembered that the model also has bump maps with it. So again I messed around with the textures and added bump maps to the regular texture.


After printing yet another 1.8GB pdf, The unusually low contrast on the model was bugging me, so guess what I did.
So I yet again, printed the whole thing, thinking that was it. But looking at the pdf up close I felt that The bump maps are too apparent. So for the final time I decided to tweak the textures, lowered the contrast everywhere but on the face and legs. This is what the model currently looks like:

Harley was printed on the 14th of August 2015. But there were quite a few problems. First let me show you what it looks like.

The fun part was asking people what they think how many pages there are, and many of them went into several hundred :D . As you can see the stack is quite thick. The hair, skirt and frills are printed on regular 80gsm paper, and the rest is printed on 200-240gsm paper. But the problem is that the printer doesn't work really well with the thick paper, so some colors came out really odd. Worst is the color red. The red on the legs was really awful, but the boots were fine.


The left photo is supposed to be RED. I might be colorblind but this is definitively not red. Some parts on the right photo have red in them, parts from the upper body. I had to do something about that, so I went back to the copy place, and printed most red parts on regular 80gsm paper. I will glue the parts on thick paper so that they will be able to support the weight of the body. I'm really glad that I printed both legs, because there was a minor size difference between the old and new prints so I can't mix parts. But since the difference is really minor it won't affect the whole model, since it's consisted of a couple of independent parts. The red parts came out wonderful!

I started building her immediately after getting home. I started with the head. The head itself is not very difficult, but the thick paper gave me a few complications around the lips. The lips were cracked.


These are the images I took on day one. On the 16th I picked it up again, finished the head (without the neck, and started adding the hair to the head. There were 2 layers at each spot. I glued the first one down regularly, and the second layer was cut into 4-5 thinner pieces to make it look like real hair (as realistic as paper hair can be).


As you can see, I cut even the fringe into smaller strands. I also glued the lips over with new parts (since they were red I printed them on thinner paper). This is where I stopped building on the 17th. The next day was all about the other side of the bangs. This side was a bit more difficult to shape.


Of course the hair won't be flying around like that once I'm done with the rest of it. I will glue some strands together so that they hang straight down. And in this photo you can see the little bumps on the head from all the mini strands.
This is the end of progress report no.2. Visit back soon for more news on Harley Quinn and oncoming projects!
Happy Crafting!
These are the images I took on day one. On the 16th I picked it up again, finished the head (without the neck, and started adding the hair to the head. There were 2 layers at each spot. I glued the first one down regularly, and the second layer was cut into 4-5 thinner pieces to make it look like real hair (as realistic as paper hair can be).
You can see from the right photo that the hair really is cut into small strands. With 2 strands remaining I ran out of glue so I had to go get some, but my town doesn't sell the one I use, therefore the build had to wait until I had the opportunity to go get some glue. After getting glue I finished the two strands I had remaining and started on the fringe.

And finally today (19th) I started working on the pigtails (I don't really know if they are pigtails, I know nothing about hair). I started the right one first. The black one. I didn't get very far, though. There are a lot of parts and finding a pair was not really easy (because I had no more patience to sort them on the pdo itself). But I built around a quarter of the black parts, and half of the remaining pieces are cut out. So this is what I have now:
This is the end of progress report no.2. Visit back soon for more news on Harley Quinn and oncoming projects!
Happy Crafting!
8th Aug 2015
So after a while I've gone back to designing. I've had a few bigger projects done, like Zero Suit Samus from Smash Bros for the Wii U. She is not available for download.
I also started Harley Quinn from Batman: Arkham Knight. She is not yet done, as the model is very complex and will take a while to complete. I included an image that shows the pose she will be in. She will be around 90cm tall and will NOT be for beginners, or even intermediate papercrafters, but will require an advanced level of skill, as there will be a lot of small parts I do not want to remove (like shoelaces, lot of hair layers, eyebrows, frills...). The model editing phase should be done in the next few days, the unfold before next week, and the build is not yet determined, The template will be made in the High Resolution version of Pepakura Designer to preserve the 2048x2048 resolution of most of the textures.


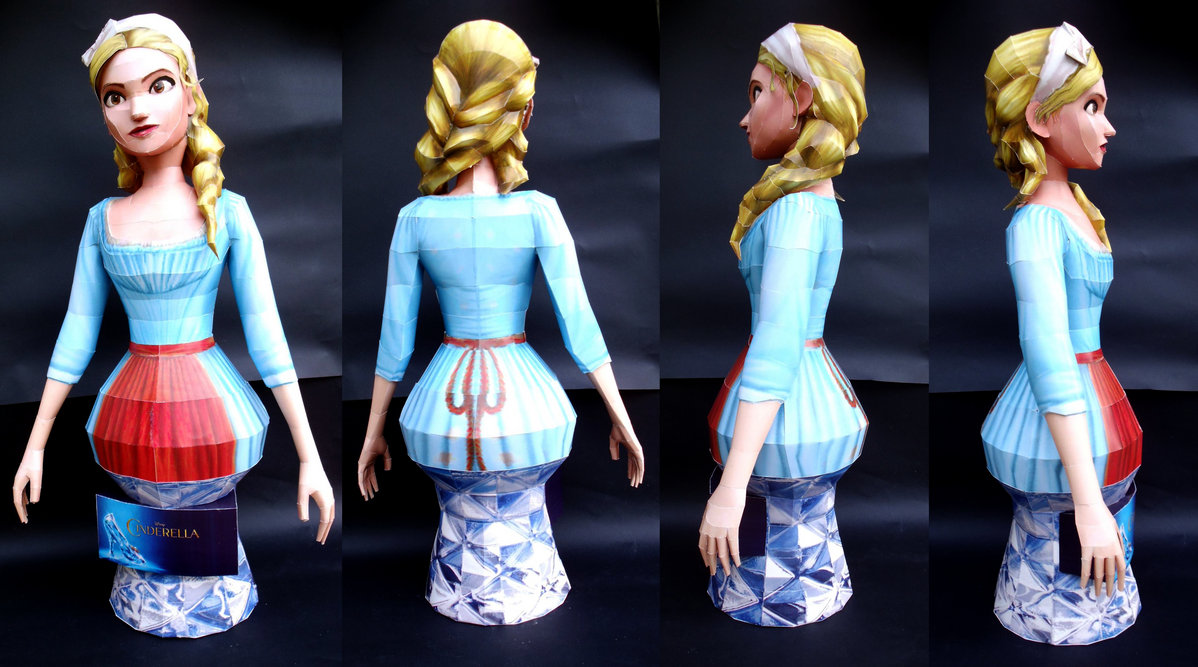
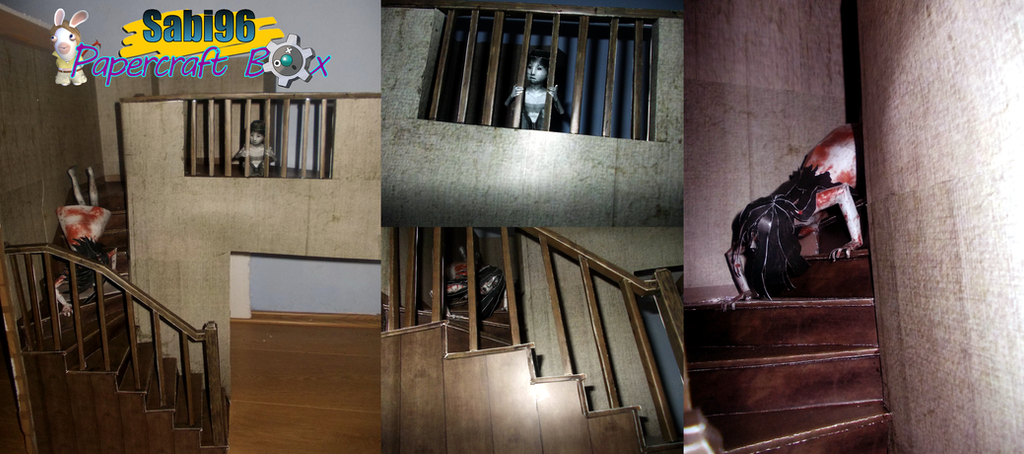
There are also some minor crafts that I've made in the previous couple of months that I've not posted here. These include a Minion, 3 Rabbids (Thong and Christmas, Sam Fisher and Mime), Ella (Cinderella 2015), A The Grudge Diorama, a Life-size bust of Hermione Granger, and if you're interested in more you can find all of them on my DeviantArt gallery.


There is also a secret project that I'm working on that I post an image of here as soon as I finish building it. Hint : It's not my Fault.
No comments:
Post a Comment